Getting Started
You can deploy your first smart contract and run it in your browser without prior knowledge of Flare. This guide demonstrates how easy it is to develop smart contracts using the Solidity language, a MetaMask wallet and the Remix Development Environment. All these tools are accessible in your browser for free, without requiring any sign-up.
Goals
You will create and deploy a simple "Hello World" smart contract following these steps:
-
Write: Draft a smart contract outlining its logic, updating a simple string state variable.
-
Compile: Convert your human-readable smart contract code into bytecode, comprehensible to the Flare blockchain.
-
Deploy: Send the compiled smart contract to the blockchain, where its code becomes immutable.
-
Call functions: Execute the functions defined in your contract, triggering changes in the state of the blockchain.
Steps
1. Install, configure and fund your MetaMask wallet
-
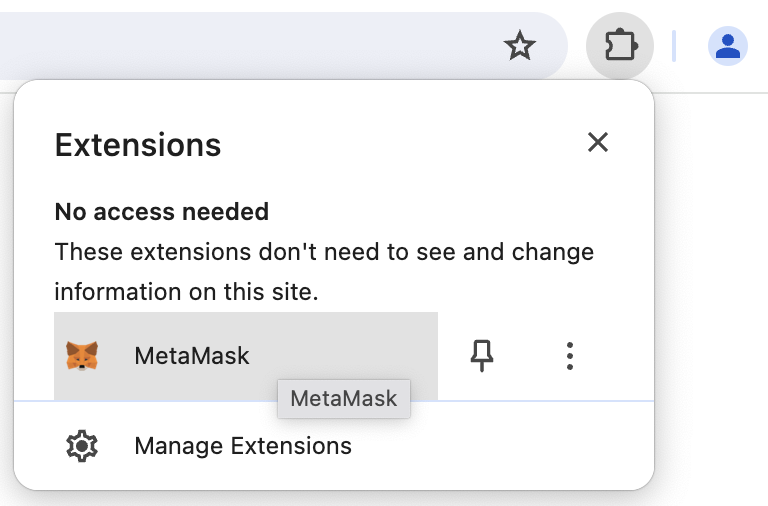
After installing, open MetaMask from your browser extensions.
-
Follow the instructions to create a new wallet. During setup, you'll receive a 12-word mnemonic phrase. Safeguard this phrase in a secure location, as it's crucial for accessing your wallet in the future.
-
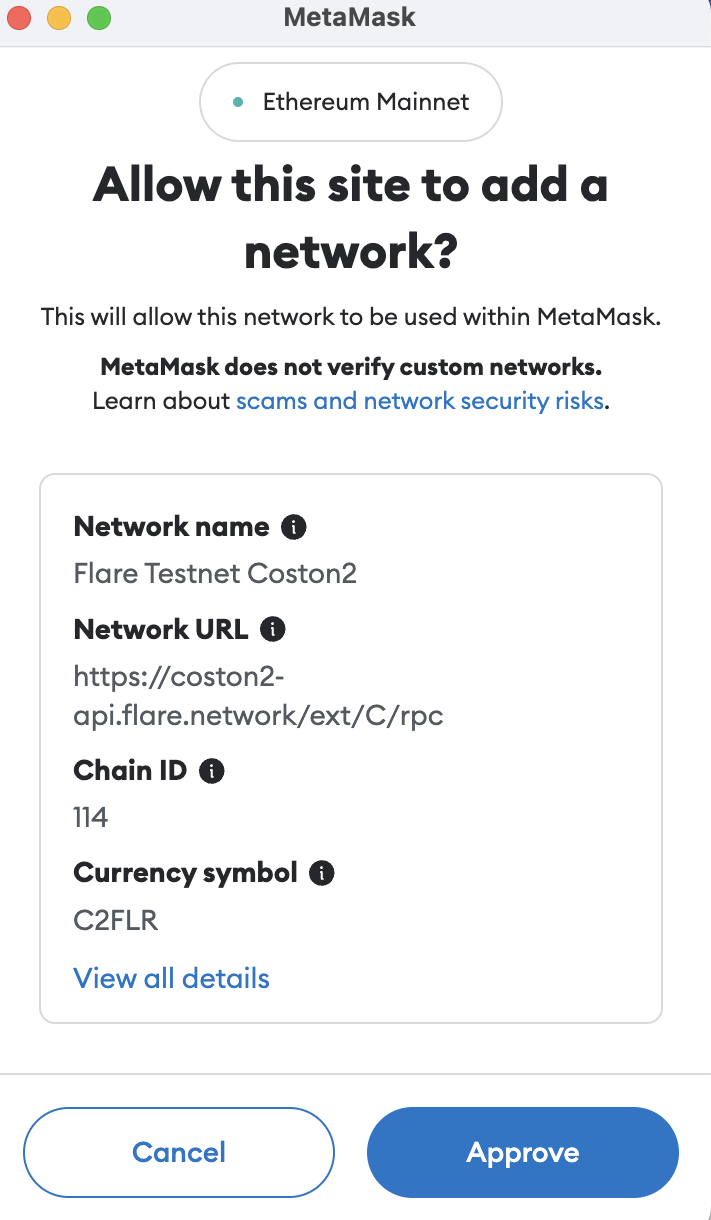
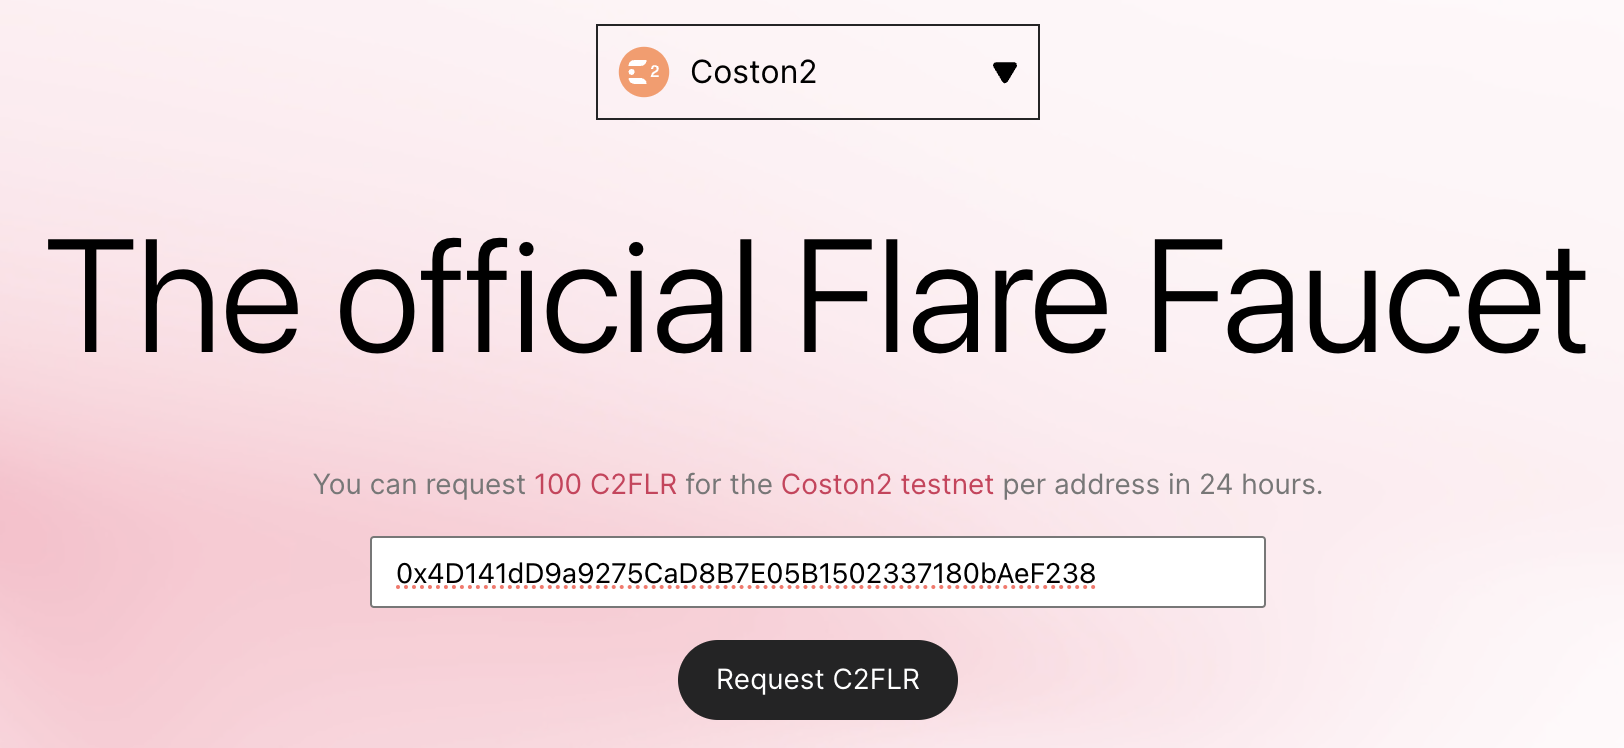
Add the Flare Testnet Coston2 to your MetaMask wallet. Go to the Coston2 Explorer, and click on Connect in the top right hand corner.
-
A MetaMask prompt will open asking you to approve adding the network. Click on Approve.
-
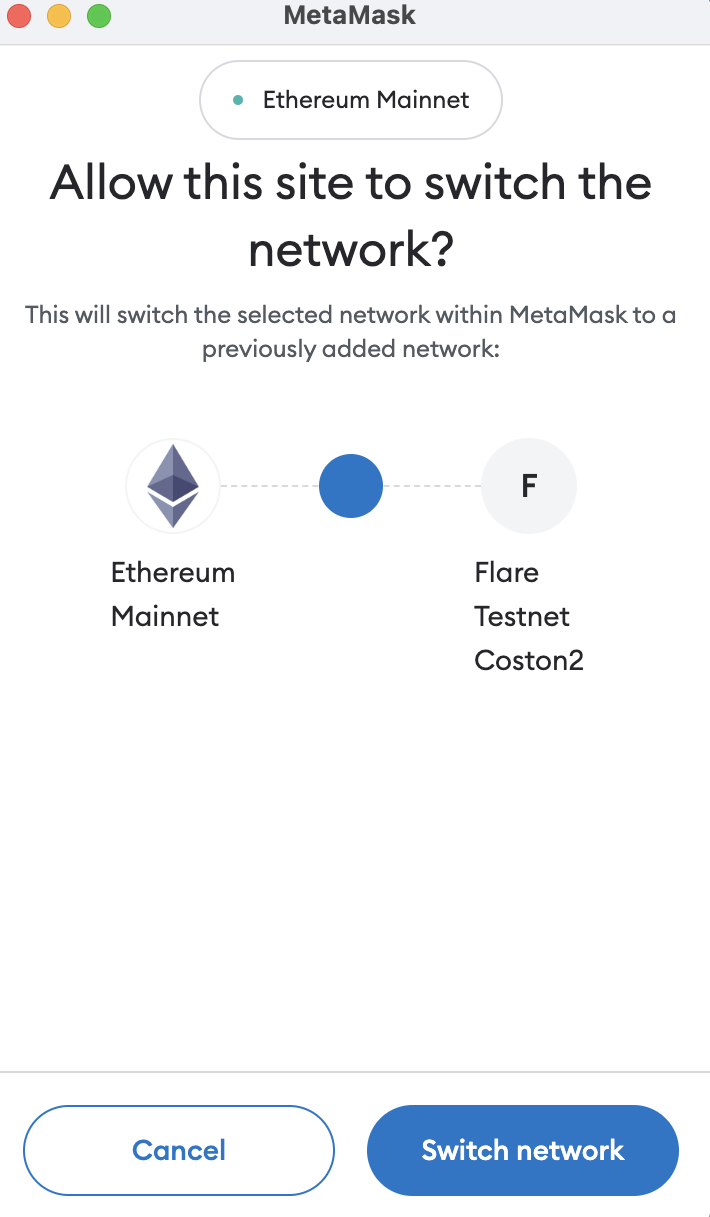
Once approved, MetaMask will ask you to switch to Flare Testnet Coston2. Click on Switch network.
-
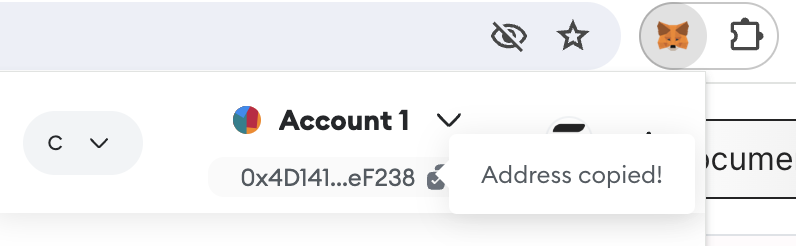
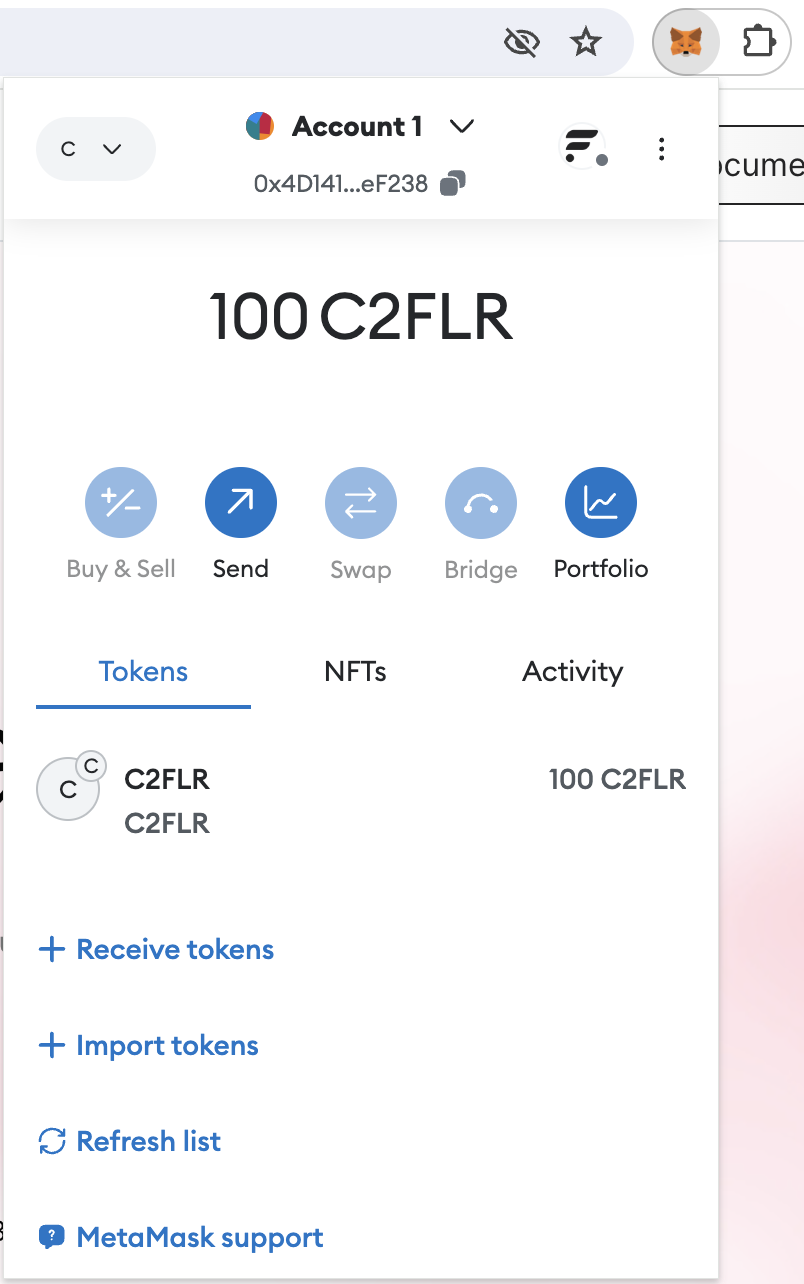
Copy your MetaMask address.
-
Paste your address in the Coston2 Faucet and click on Request C2FLR.
-
After the faucet completes the transaction, which can take a few seconds, you should find testnet C2FLR in your MetaMask wallet.
With your wallet configured and funded, you're ready to write, compile, and deploy your contract.
2. Write, compile and deploy your first smart contract
Start with a simple HelloWorld.sol example. This contract illustrates setting and retrieving variables within a smart contract onchain.
// SPDX-License-Identifier: MIT
pragma solidity >=0.8.0 <0.9.0;

/**
 * THIS IS AN EXAMPLE CONTRACT.
 * DO NOT USE THIS CODE IN PRODUCTION.
 */
contract HelloWorld {
    string public message;

    constructor(string memory initialMessage) {
        message = initialMessage;
    }

    function updateMessage(string memory newMessage) public {
        message = newMessage;
    }
}
Didn't understand the Solidity code?
Let's break down the HelloWorld contract:
-
Pragma Directive: The
pragma solidity >=0.8.0 <0.9.0;statement specifies the version of the Solidity compiler the contract should use. In this case, the contract is compatible with any version of Solidity above (including) 0.8.0 and below 0.9.0. -
Contract Declaration: The
contract HelloWorld { ... }statement defines a new Solidity contract namedHelloWorld. -
State Variable:
string public message; declares a state variable namedmessage, which is of typestringand is publicly accessible (due to thepublicvisibility modifier). This variable will store a message that can be read by any external entity. -
Constructor: The
constructor(string memory initialMessage) { ... }function is a special function that is executed only once when the contract is deployed. It initializes themessagestate variable with the value passed asinitialMessagewhen the contract is deployed. -
Function
updateMessage: This function allows anyone to update themessagestate variable. It takes anewMessageparameter of typestring, updates themessagevariable with the new value, and is publicly accessible (publicvisibility modifier).
-
Click on
HelloWorld.solin the file explorer to open the contract in the Remix editor. -
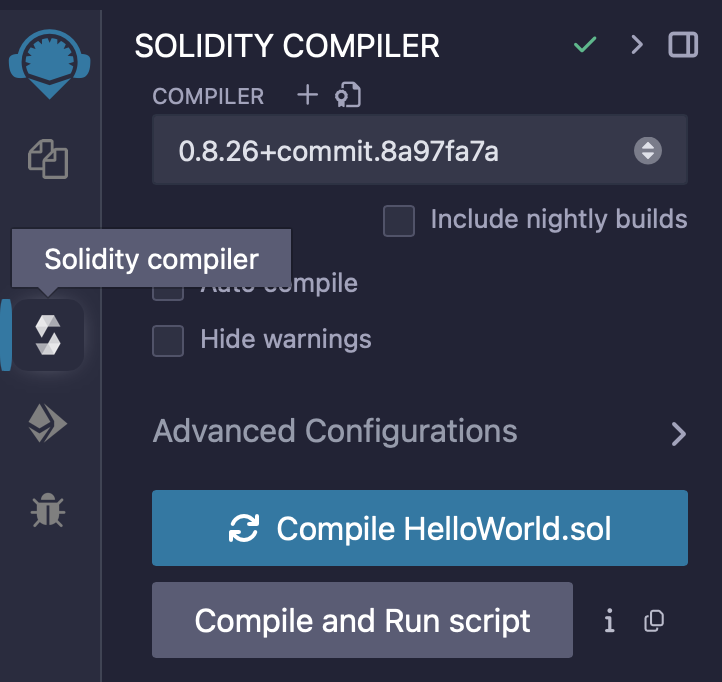
Navigate to the Solidity compiler tab on the left to view the compiler settings.
-
Expand the Advanced Configurations section and make sure the EVM Version is set to
cancun.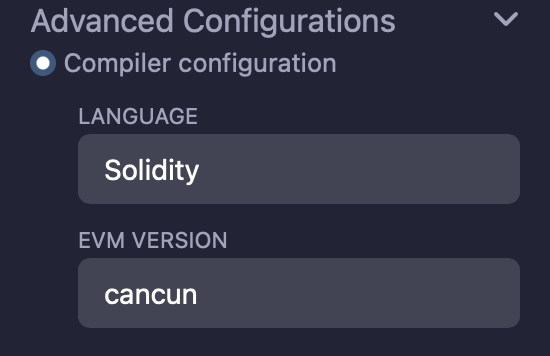
-
Click the Compile HelloWorld.sol button to compile the contract. This converts the contract from human-readable Solidity code into bytecode that the Flare blockchain can understand.

-
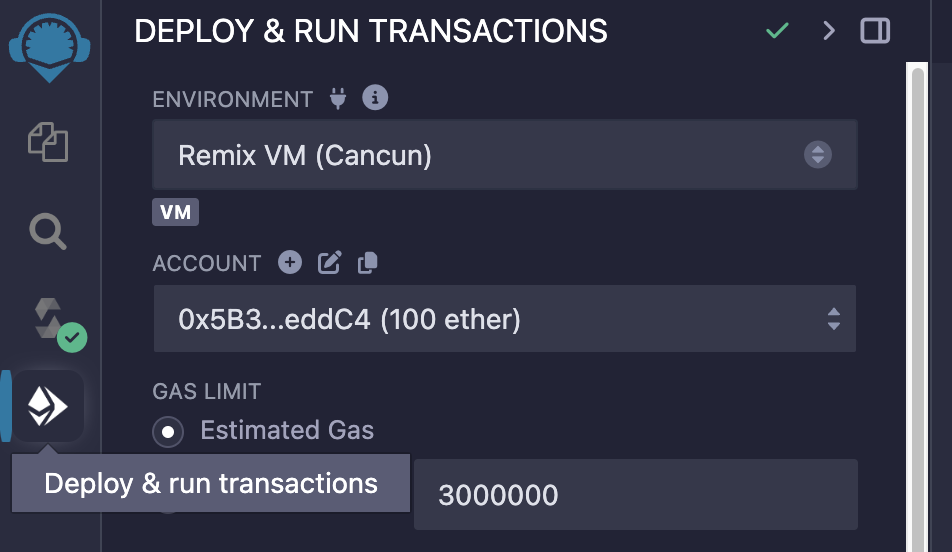
After Remix compiles the contract, deploy it. On the left side of Remix, click the Deploy & Run Transactions tab to view the deployment settings.
-
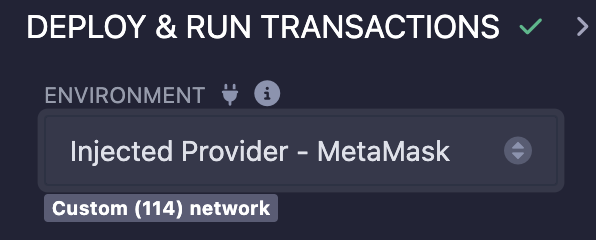
In the deployment settings, select the Injected Provider - MetaMask environment. This tells Remix that you want to deploy your contract to the blockchain that you configured in MetaMask.
-
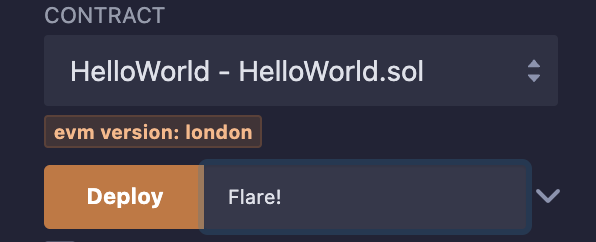
Next to the Deploy button, enter a message that you want to send with the smart contract when you deploy it. This contract has a constructor that sets an initial message when you deploy the contract.
-
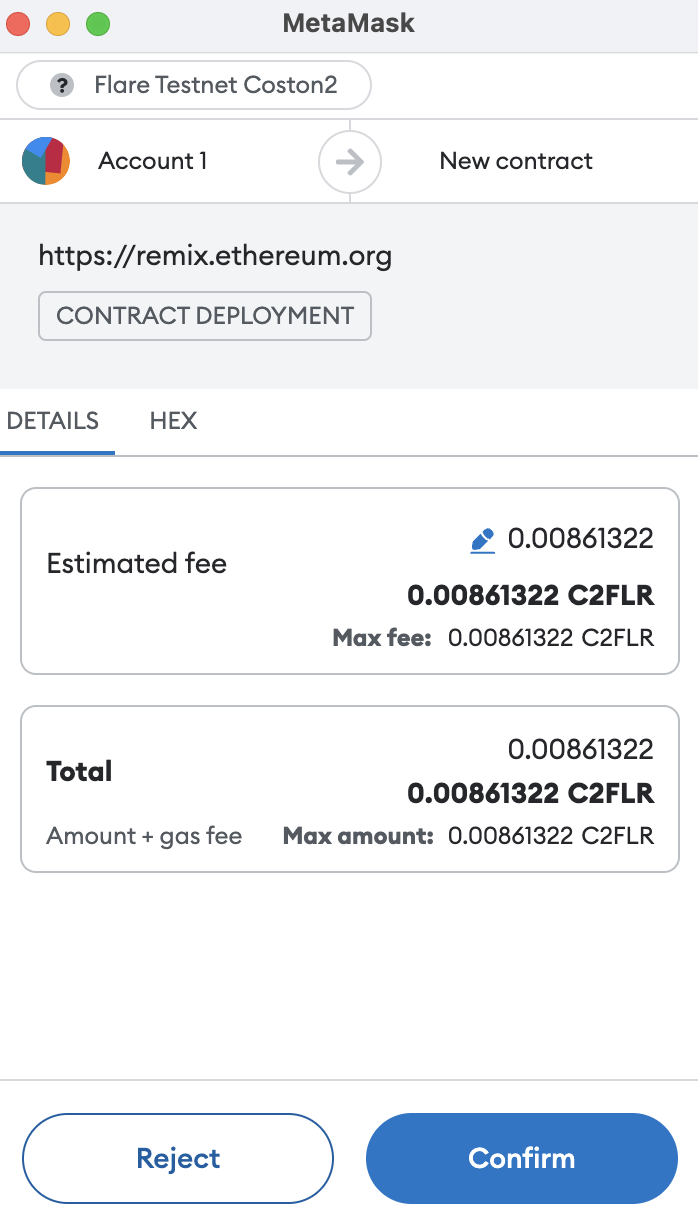
Click the Deploy button to deploy the contract and its initial message to the blockchain. MetaMask opens and asks you to confirm payment to deploy the contract. Make sure MetaMask is set to the Flare Testnet Coston2 network before you accept the transaction. Click on Confirm.
-
After a few seconds, the transaction completes and your contract appears under the Deployed/Unpinned Contracts list in Remix. Click the contract dropdown to view its variables and functions. Click the message button. Remix retrieves and prints the initial message that you set.
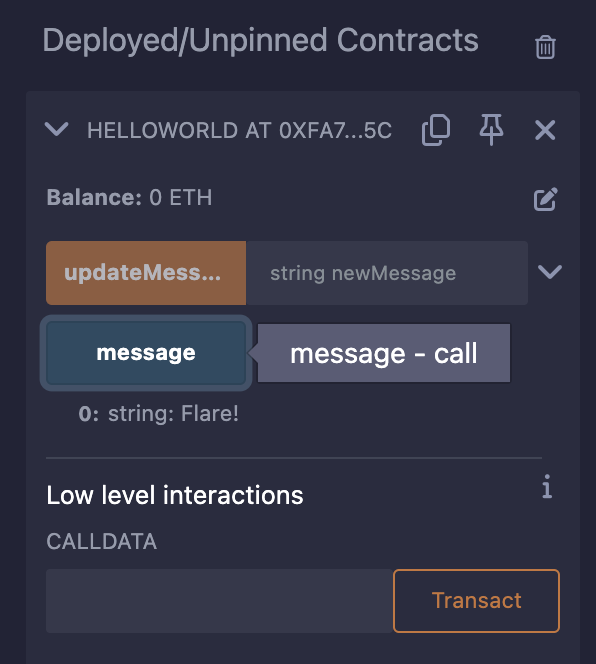
The contract has an address just like your wallet address. To see details about your deployed contract, copy the contract address from the list in Remix and search for it in the Coston2 Explorer.
3. Call functions in your contract
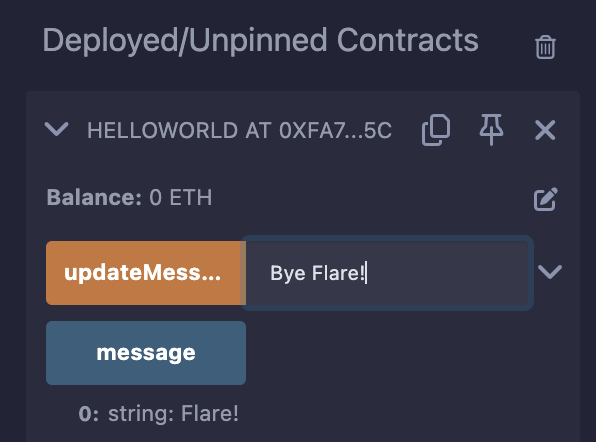
Since you deployed the contract to a blockchain, multiple nodes on the test network have confirmed your payment for the smart contract. The contract, along with its variables and functions, is now permanently stored on the blockchain. To change the message variable within your contract, simply run the updateMessage function.
-
In your deployed contract, enter a new message next to the updateMessage function. Click the updateMessage button to set the new message in the contract data.
-
A MetaMask prompt will open and ask you to confirm payment to update the state of your contract. Click Confirm to approve the transaction.

-
Click the message button again to see the updated value.

Now you know how to deploy and call example contracts on Flare's testnet. You can write your own contracts and test them using this same process.
Watch the video
Read FTSOv2's Getting Started guide to learn how to connect your smart contracts to Flare's enshrined oracle and retrieve onchain data feeds.